
TL;DR
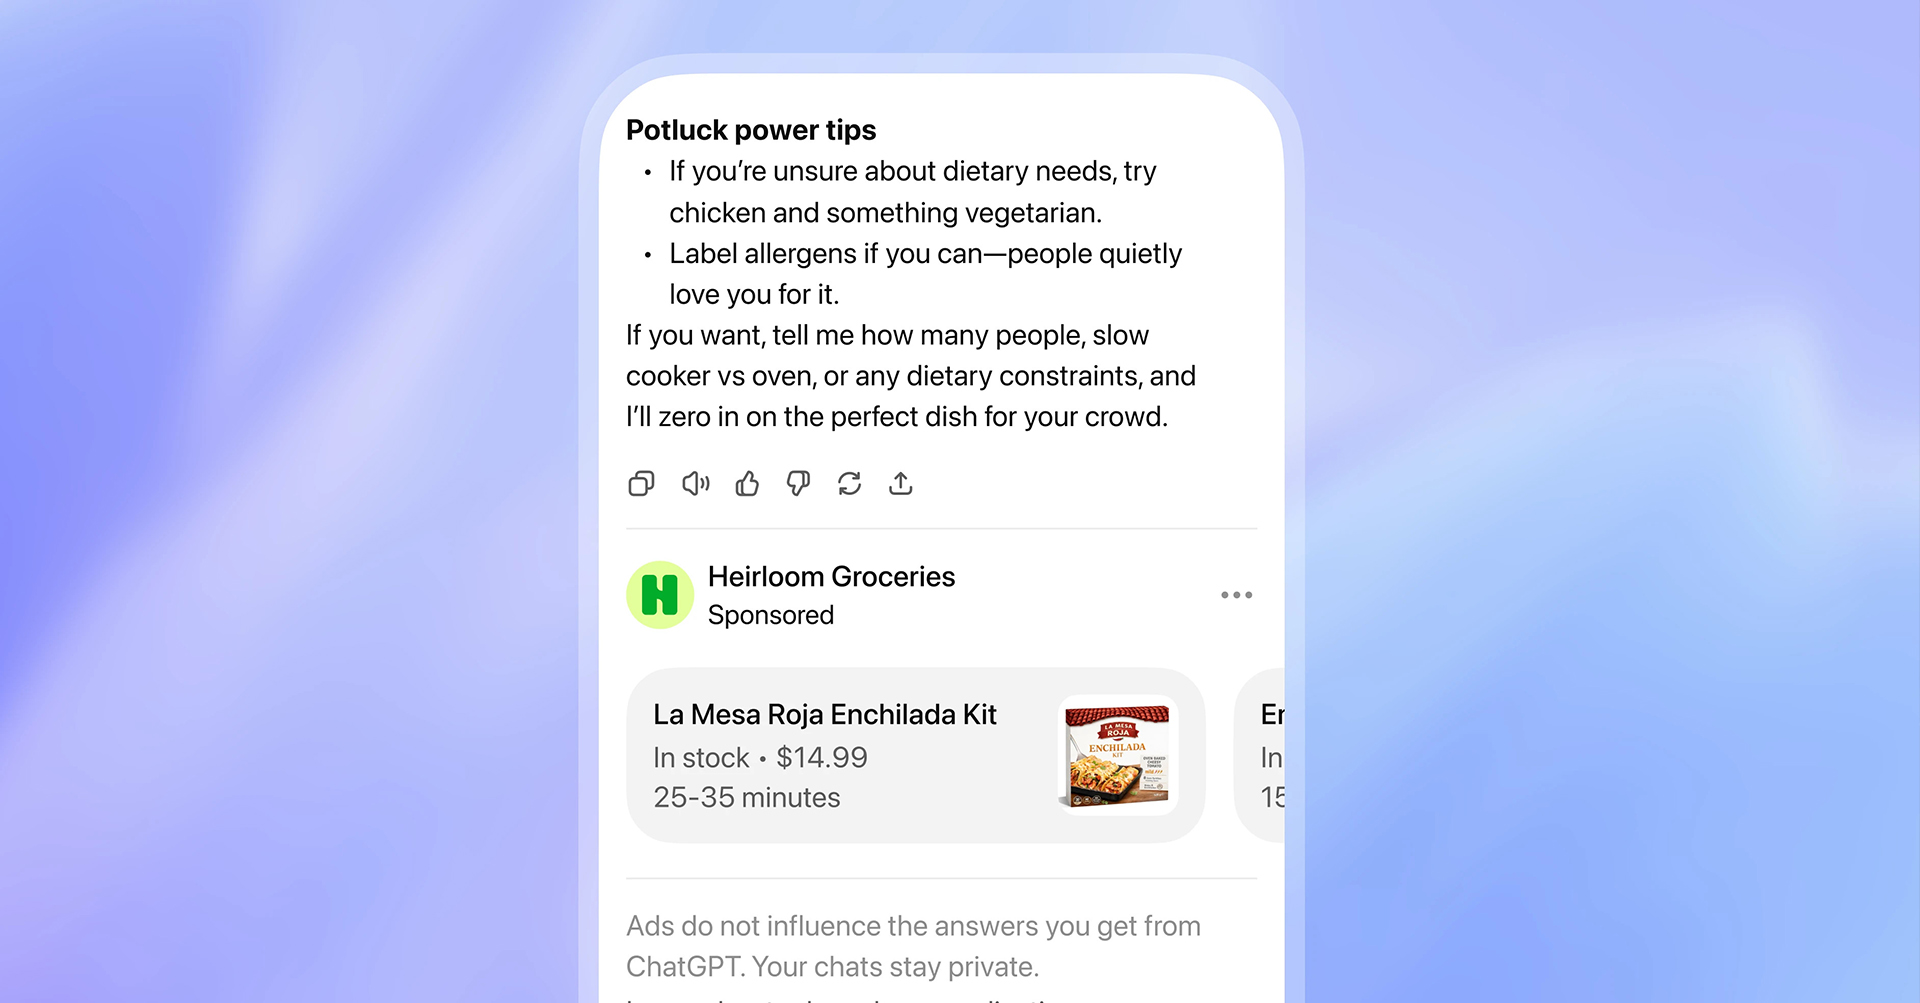
ChatGPT Ads went self-serve in May 2026 no agency relationship or six-figure minimum required. To launch your first campaign: create an Ads Manager account, add your logo, set up billing, complete account verification, build a campaign around an objective (Reach/CPM or Clicks/CPC), write context hints instead of keywords, build the ad with the live preview, submit for review, then monitor performance and iterate on budget as you learn. This guide is based on OpenAI’s own Ads Manager quickstart and FAQ, current as of September 2026.
ChatGPT Ads went self-serve in May 2026, which means launching a campaign no longer requires an agency relationship or a six-figure minimum spend just an OpenAI account, some creative assets, and a bit of patience for verification. Here’s exactly how to go from zero to a live, serving ad.
Before you start: what you’ll need
- A headline, short description, one square image, and a destination URL for your ad.
- Your business details on hand: name, website, logo, and industry.
- A decision on country, currency, and timezone these lock permanently once confirmed, so don’t rush this part.
- A registered business in a supported country self-serve availability is far broader than early coverage suggested. As of OpenAI’s own availability page, self-service now covers the US, Canada, Mexico, Brazil, Australia, New Zealand, Japan, Korea, India, the UK, and most of the EU and EEA, plus several Gulf and North African markets. If your country isn’t listed, you can still create an account now and OpenAI will notify you when it opens up.
Step 1: Create your Ads Manager account
Go to ads.openai.com and sign in with an existing OpenAI account tied to your work email, or create a new one. One quirk to know upfront: if you check “I act on behalf of clients” during sign-up as an agency, the process blocks you. Agencies can’t self-onboard you have to be invited by a client who’s already created their own account.
Step 2: Set up your account — logo, billing, and verification
Per OpenAI’s own quickstart, account setup has a few parts beyond just signing in:
- Add your brand logo in Settings.
- Set up your billing profile and payment method. You won’t be charged until your ads actually start serving, so there’s no downside to doing this early.
- Complete account verification. This isn’t instant plan for it to take some time, and note that a banner in Ads Manager will flag if verification is still needed and blocking your ads from serving.
- Invite any additional team members who need access.
Order these however makes sense for your team, but don’t skip verification it’s a common reason ads sit unserved even after a campaign looks fully built.
Step 3: How to create your first campaign
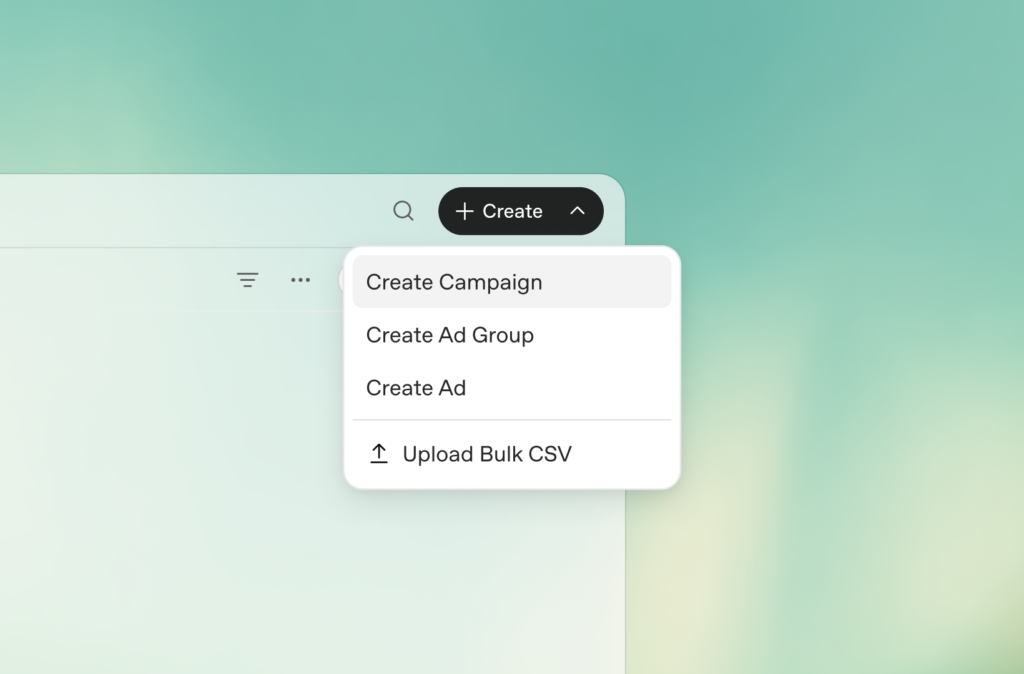
Everything in Ads Manager sits inside a three-level structure: campaign → ad group → ad. The campaign is where you set your objective, overall budget, and schedule everything below it inherits those settings, so it’s worth getting right before you move on.
Choose your objective. This is the first decision Ads Manager asks for, and it determines how you’re billed:
- Reach — CPM bidding (you pay per 1,000 impressions), default max bid around $60. Best if you’re running a brand-awareness play and just want visibility.
- Clicks — CPC bidding (you pay per click), with OpenAI recommending a starting max bid of $3–$5; bids much below that often fail to clear the delivery threshold. Real-world CPCs reported by early advertisers range more widely, from around $1.50 to $9 depending on category. Best if you want traffic to a landing page and can measure what happens after the click.
- Conversions — CPA bidding, available once you’ve got the OAIQ pixel or Conversions API wired up. You only pay for a completed signup or purchase, not the click itself. Skip this for campaign #1 unless your tracking is already live set it up as a follow-on optimization once you have baseline data.
Name the campaign clearly. Use something you’ll recognize in reporting later product name, objective, and date range (e.g., “Q4-ProductX-Clicks-Nov”). It sounds trivial until you have ten campaigns and can’t tell them apart.
Set your budget. You can run a daily budget or a total campaign budget with a fixed end date. For a first test, a total budget with a clear end date is easier to reason about you know exactly what you’re risking and when you’ll be reviewing results.
Set your schedule. Decide start and end dates up front. There’s no strong reason to run continuously on a first campaign a two-week window gives you enough data to judge performance without over-committing.
Use the guided flow, not bulk upload. Ads Manager offers a step-by-step wizard and a bulk-upload option for managing many campaigns at once. For your first campaign, use the wizard it’s slower, but it walks you through each setting and is much harder to misconfigure than a spreadsheet upload.
Once the campaign shell is set, you move down a level to build the ad group and the ad itself covered next.
Step 4: Create an ad group with context hints
This is the part that’s genuinely different from Google or Meta. Instead of keyword targeting, you write context hints plain-language descriptions of the conversations or topics where your product actually fits. ChatGPT matches these against what a user is currently discussing (and, if personalization is on, their broader chat history). The more specific and honest these hints are about real user intent, the better your ad’s relevance score — which directly affects what you pay in the auction.
Step 5: Build the ad and check the live preview
Add your title, copy, image, and landing page URL. As you fill each field in, Ads Manager shows a live preview of exactly how the ad will render inside a ChatGPT conversation. Use it it’s the easiest way to catch a bad crop or an off-tone headline before it’s actually live.
Step 6: Submit for review and confirm it’s serving
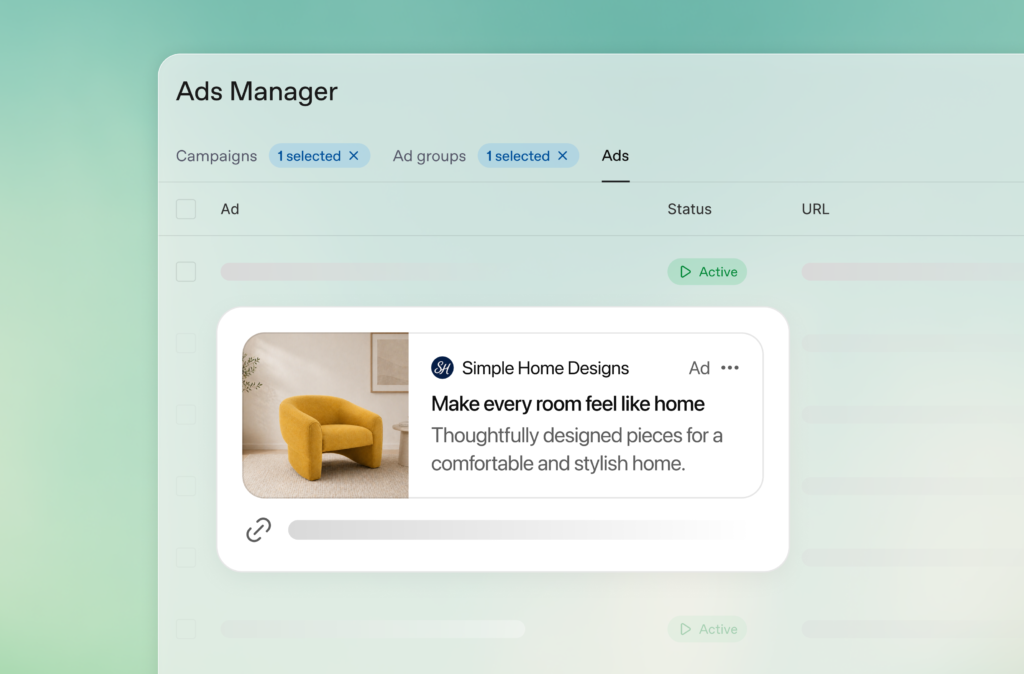
Once submitted, check that your campaign, ad group, and ad all show a status of Active. If anything reads “Not serving,” hover over the status for the specific reason; OpenAI’s own troubleshooting guidance points to five usual suspects: the ad hasn’t cleared review yet, account verification is still outstanding, the campaign budget limit has been reached, the campaign end date has passed, or there’s a problem with your payment method.
Most of these are quick fixes at the campaign or account level; some ads are rejected outright for policy reasons and need reworking.
Step 7: Monitor performance and iterate
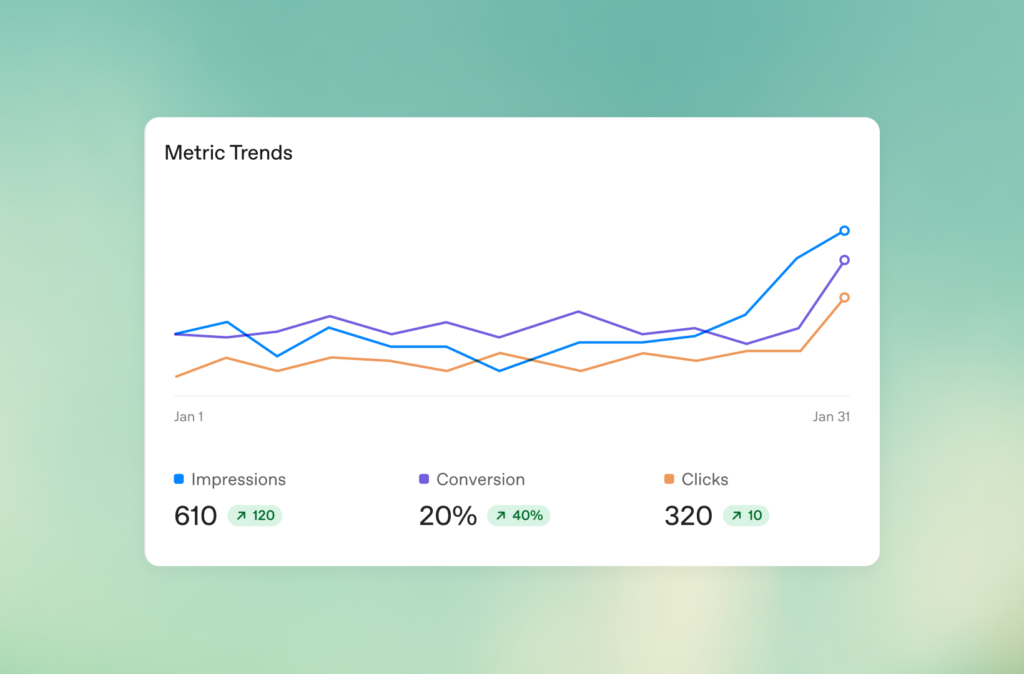
With ads live, track impressions, clicks, spend, CTR, and average CPC/CPM directly in the dashboard, or pull CSV exports for deeper analysis. On sizing your budget, OpenAI’s own guidance is deliberately non-prescriptive during the beta: distribute your total planned spend across campaigns by priority, and choose a budget that balances testing the platform with giving a campaign enough room to actually deliver and generate meaningful signal then adjust as you learn what performs.
There’s also no official public benchmark yet for what “good performance” looks like on ChatGPT Ads, since results depend heavily on your objective, creative, and landing page; treat your first campaign as building your own baseline rather than chasing an industry number.
A few things to keep in mind
- Your paid-tier customers won’t see these ads. ChatGPT Ads only reach logged-in adult users on the Free and ChatGPT Go tiers; Plus, Pro, Business, Enterprise, and Education subscribers see nothing.
- Verification is the real bottleneck, not campaign building. If ChatGPT ads are anywhere on your roadmap, create your account and start the verification process a week or two ahead of when you actually want to launch.
- Judge success by conversion, not clicks. Click-through rates on ChatGPT run notably lower than Google Search, but the users who do click tend to be deep in a research or decision-making moment so cost per conversion is a better read on whether the channel is working for you than CTR alone.
Once your first campaign is live, the platform itself will probably keep changing OpenAI has revised pricing models, minimums, and targeting options multiple times in 2026 alone. Treat this guide as a snapshot, and check Ads Manager’s own help center for anything that looks like it’s shifted since you set up.
Related Buzz: We also covered [The Real Cost of “Free” AI Coding Tools Once You Actually Ship]